Suggestions
1 Select your format: 4 tablets that you can create with 1 Pixel Art 4 Take a Selfie box or 8, 16 or 24 tablets that you can create with 1, 2 or 3 Pixel Art 8 Take a Selfie boxes.
2 Upload your photo: it can be a selfie or another picture of your choice.
- For best results select a high contract photo, even better if shot outdoors with lights and shadows bringing out shapes; flash images are not very suitable as they turn out flat. A picture with little background and a close up of the subject is preferable.
- Once the photo is uploaded select the most suitable lay out, horizontal or vertical, Then modify the selection box, you can increase it, reduce it or move it so as to obtain the exact frame that you want.
- At this point you will be able to decide which version you like best between the colour and black and white ones. Then click on ‘Create Pixel art’ to create the PDF file including the guide sheets.
3 Your PDF file with sheets is ready. You can download it now or receive it by email (recommended). Print your sheets in ‘actual size’ i.e. exactly the same as the pierced tablet. Be very careful not to activate the ‘fit to page’ mode on your printer, it would change its size and make it unusable.
4 Crete your picture with the pins: cut out the guide sheets and keep them together with their number that indicates the correct placement of the tablets on the frame.
- Put each sheet on top of its pierced tablet, secure it with four pins near the corners, then you can start creating your picture by closely following the succession of colours; the sharp edge of the pins will make it very easy to pierce the sheet.
- Insert all the pins in each tablet and follow with precision all the colours printed on the sheets and, before permanently fitting the tablets on the mounting units, check that everything is correct by juxtaposing them like puzzle pieces.
- Before mounting the tablets on the units, follow the assembling instructions for the mounting units.
- Now you just have to carefully place the tablets with the pins in the appropriate site. If they are well placed the top surface will be perfectly smooth. Finally your master piece is ready to be hung and shown to all your friends: we are sure that its magic explosion of colours will make it irresistible.
Please note: the Pixel Art 4 and 8 Take a Selfie boxes contain a lot more pins than the necessary quantity to complete the tablets. Nevertheless you might happen to select a picture that requires more pins than the maximum quantity provided for one of the six colours. In this case you can supplement the quantity of missing pins by purchasing some boxes of spare parts. Otherwise you can reframe the picture, or select another image.
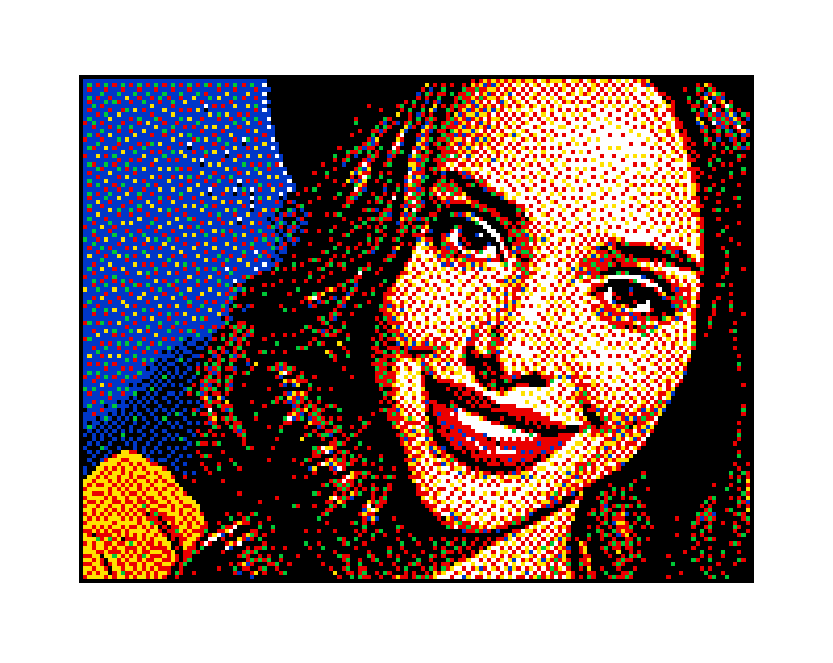
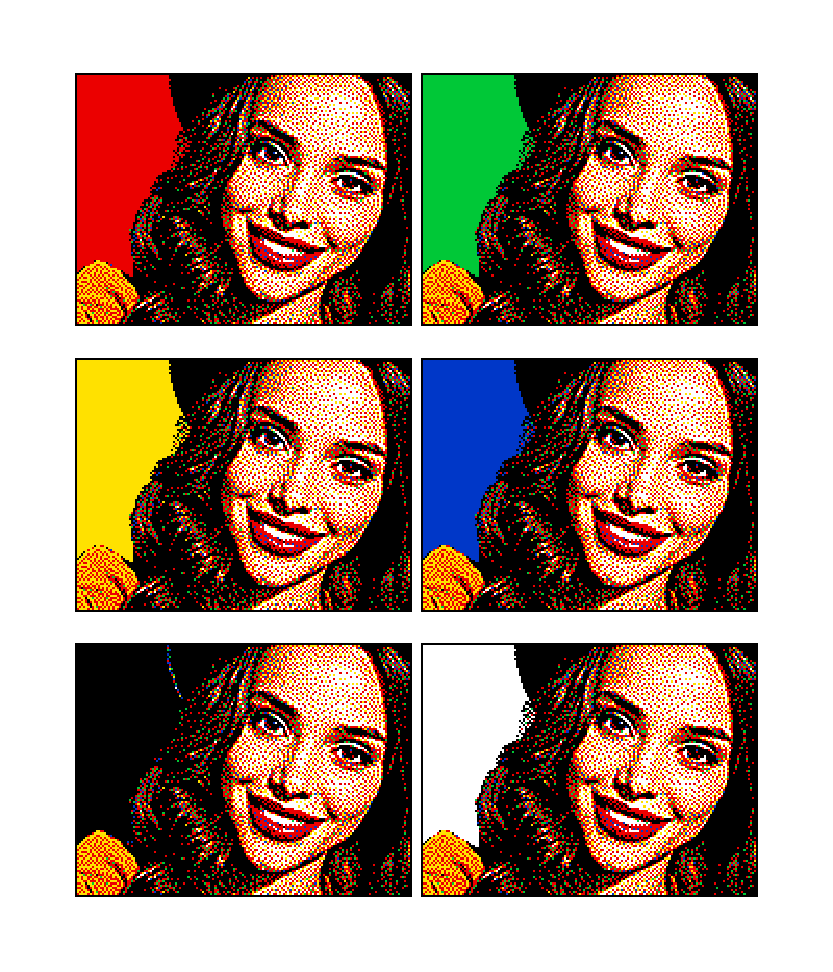
Above you can see a "natural" example of PixelArtSelfie just as created by the app. If you want to give further emphasis to your portrait with a touch of creativity, we recommend that you remove the background pins and replace them with one of the six available colours to create a solid colour effect. Below you can see the result in each of the six colours.